
How to Transition from Photography to 3D Renders for Softgoods Apparel: A Practical Guide for Brands
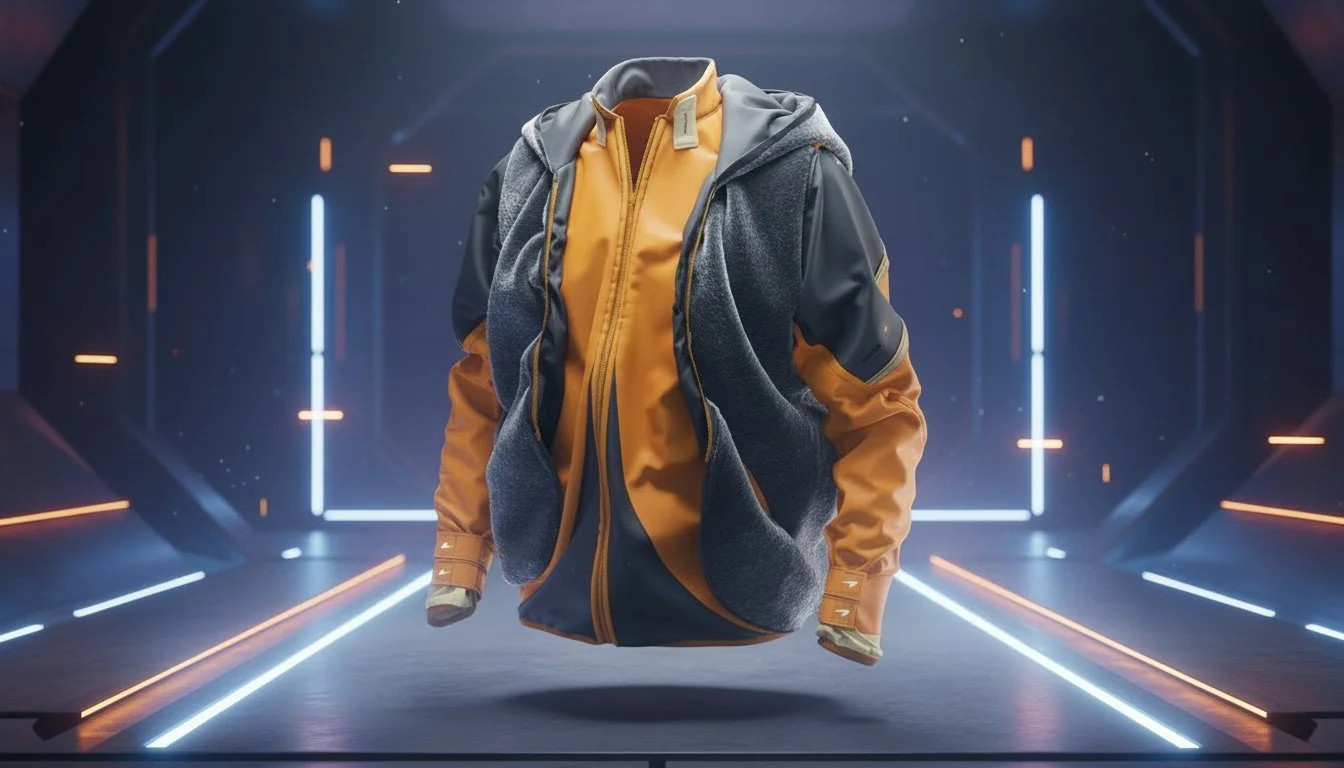
A 3D McLaren jacket designed for Lando Norris.
By VANZ, a 3D animation and rendering studio specializing in apparel, softgoods and technical gear
Quick answer: Apparel brands move from photography to 3D renders by digitizing their garments (usually from existing CAD, pattern and tech pack data), building a reusable library of 3D assets and materials, and then producing final line adoption renders and product detail page (PDP) images from those same assets. Most brands run photography and 3D side by side for one or two seasons, then shift the bulk of their e-commerce imagery to 3D once quality and color accuracy are approved internally.
This guide walks through what that transition looks like, what it takes, and how to avoid the mistakes we see brands make. At VANZ, we work with apparel and gear brands including Fox Racing and Giro, and the process below reflects how we approach 3D for softgoods day to day.
What are 3D renders for apparel?
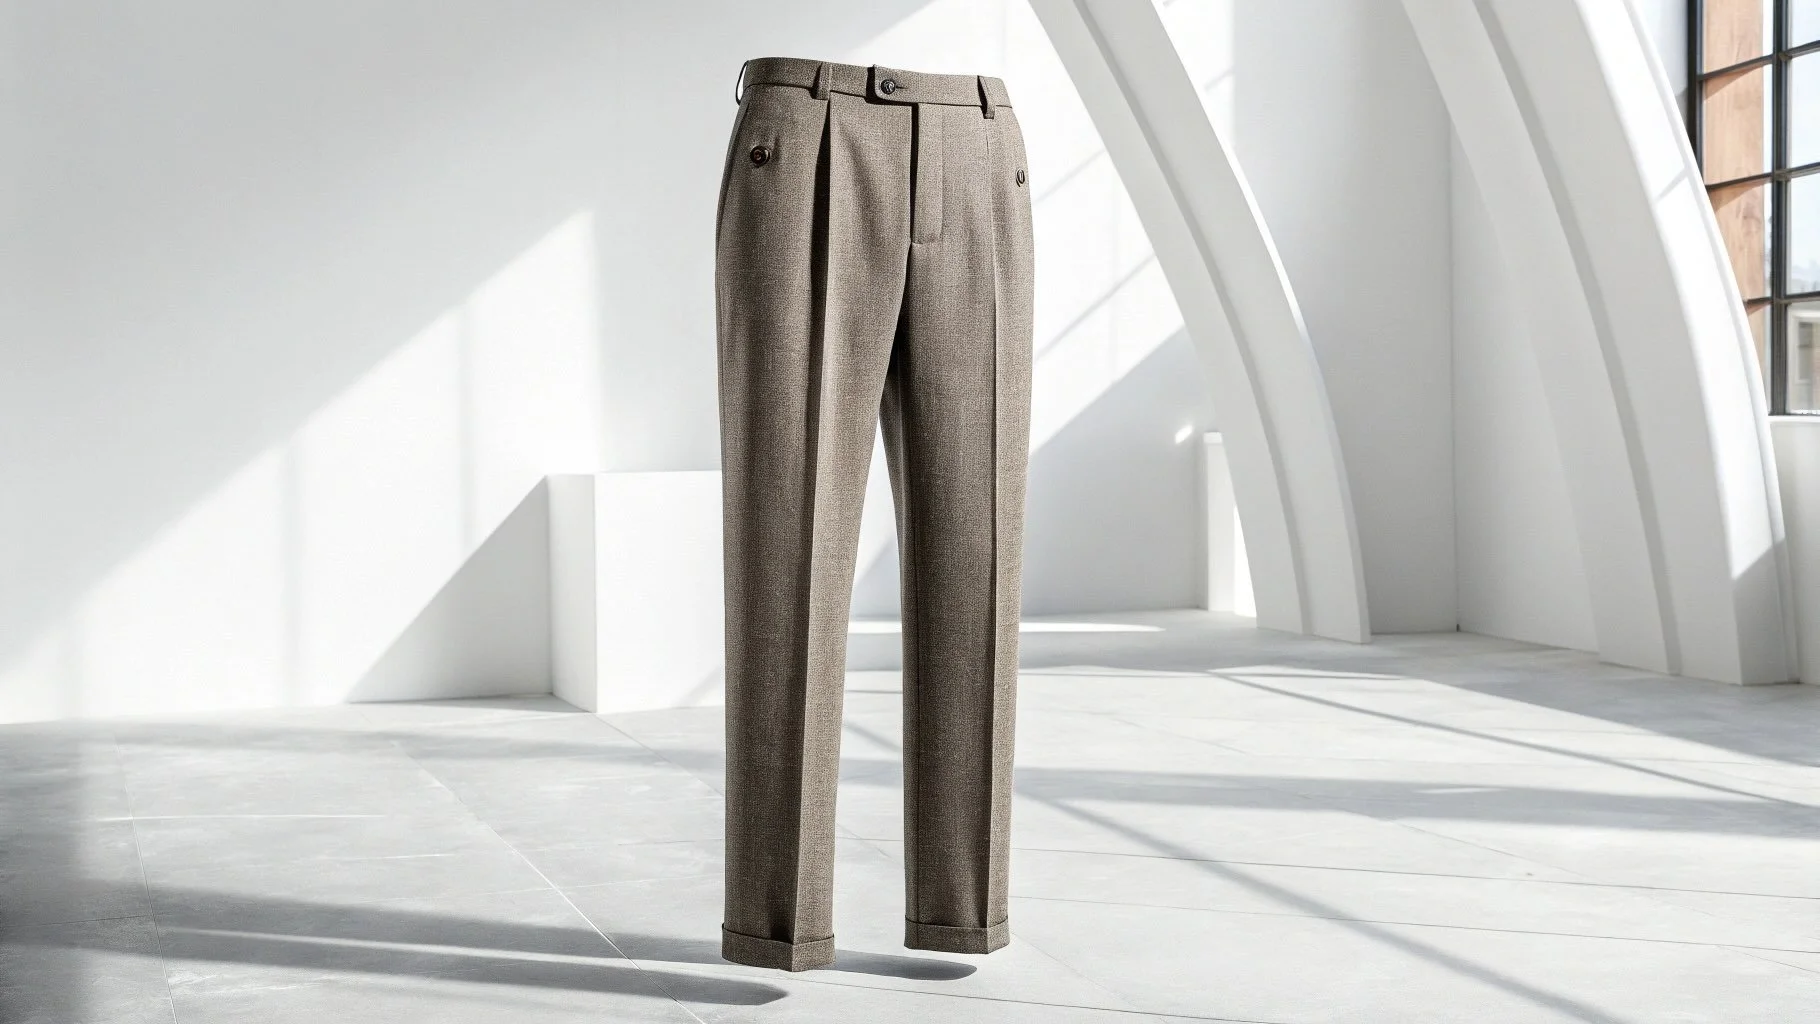
3D apparel renders are photorealistic images (and animations) of garments created from digital 3D models instead of a camera. A 3D artist builds the garment from pattern or CAD data, applies accurate fabrics, prints, trims, stitching and graphics, then lights and renders it on a virtual form, mannequin or avatar.
For softgoods brands, 3D renders typically replace or supplement three kinds of imagery:
Final line adoption renders: images used in line reviews to approve colorways, graphics and construction before anything goes to production.
PDP renders: the product images shoppers see on your website, retailer sites and marketplaces.
Marketing and catalog assets: hero images, configurators, social content, sell-in decks and animations.
Why are apparel brands switching from photography to 3D?
Brands move to 3D for a handful of practical reasons:
Speed to market. Digital assets can be ready before physical samples exist, so imagery no longer has to wait on sample production and shipping.
Fewer samples. Digital approvals reduce the number of physical prototypes created for line reviews and sell-in.
Consistency. Every product is lit, angled and framed the same way across the entire line, season after season.
Colorway scalability. Once a garment is built in 3D, additional colorways and graphic variations are far faster to produce than reshooting each one.
Reusable assets. The same 3D model can feed PDPs, line sheets, ads, social content and configurators.
Flexibility. Changes late in the process, like a graphic update or trim swap, can be revised digitally instead of reshot.
What does a photography-to-3D transition look like step by step?
Step 1: Audit your current imagery workflow
Start by listing every image type you produce and where each is used: PDP hero shots, alternate angles, detail callouts, flat lays, ghost mannequin, on-model, lifestyle, line review decks, wholesale sell sheets. Note the cost, turnaround time and bottlenecks for each. This tells you where 3D will have the biggest impact first.
Step 2: Pick a pilot category
Don't convert the whole catalog at once. Choose a category with strong repeatability and meaningful colorway volume, such as jerseys, jackets, gloves, pants or base layers. A focused pilot lets your team evaluate quality, workflow and cost with real products and real deadlines.
Step 3: Gather your digital source data
The quality of a 3D render depends on the quality of the inputs. Typical inputs include:
Pattern files and CAD data (such as DXF files or 3D garment files)
Tech packs and bills of materials
Fabric swatches and physical reference samples
Graphic and artwork files (vector wherever possible)
Pantone or other color standards
Trim, zipper, label and hardware details
Reference photography of existing products
If you don't have everything, VANZ can help you identify what's missing and what can be reconstructed from physical samples.
Step 4: Build and approve a digital twin
At VANZ, our artists build the garment in 3D and calibrate fabrics, prints and construction details against your physical reference. This is the most important approval stage. Compare the render to the real garment under consistent conditions and sign off on drape, sheen, texture, color and fit before moving into volume production.
Step 5: Establish your look and render standards
Decide on camera angles, lighting, background, crop, aspect ratios, shadow style and file naming. Locking these in once means every product in the line looks like it belongs to the same brand, and every future season is easier to produce.
Step 6: Run photography and 3D in parallel
For the first season or two, many brands produce both, then compare performance and internal feedback. This reduces risk and builds confidence across merchandising, e-commerce, design and sales teams.
Step 7: Scale across colorways and seasons
Once the base assets are approved, new colorways, graphic updates and seasonal carryover styles become much faster to produce. This is where most of the long-term efficiency comes from.
What are final line adoption renders?
Final line adoption renders are high-fidelity 3D images used during line adoption meetings, when design, merchandising, sales and leadership teams decide which products and colorways make it into the upcoming line. Because they show accurate construction, materials and graphics, they let teams make confident decisions without waiting for every physical sample.
Benefits for apparel teams:
Evaluate colorways side by side before committing to production
Catch graphic placement or construction issues earlier
Present the line to retail buyers and sales teams with imagery that reflects the final product
Reuse approved renders later as PDP and marketing assets
What are PDP renders and how do they affect conversion?
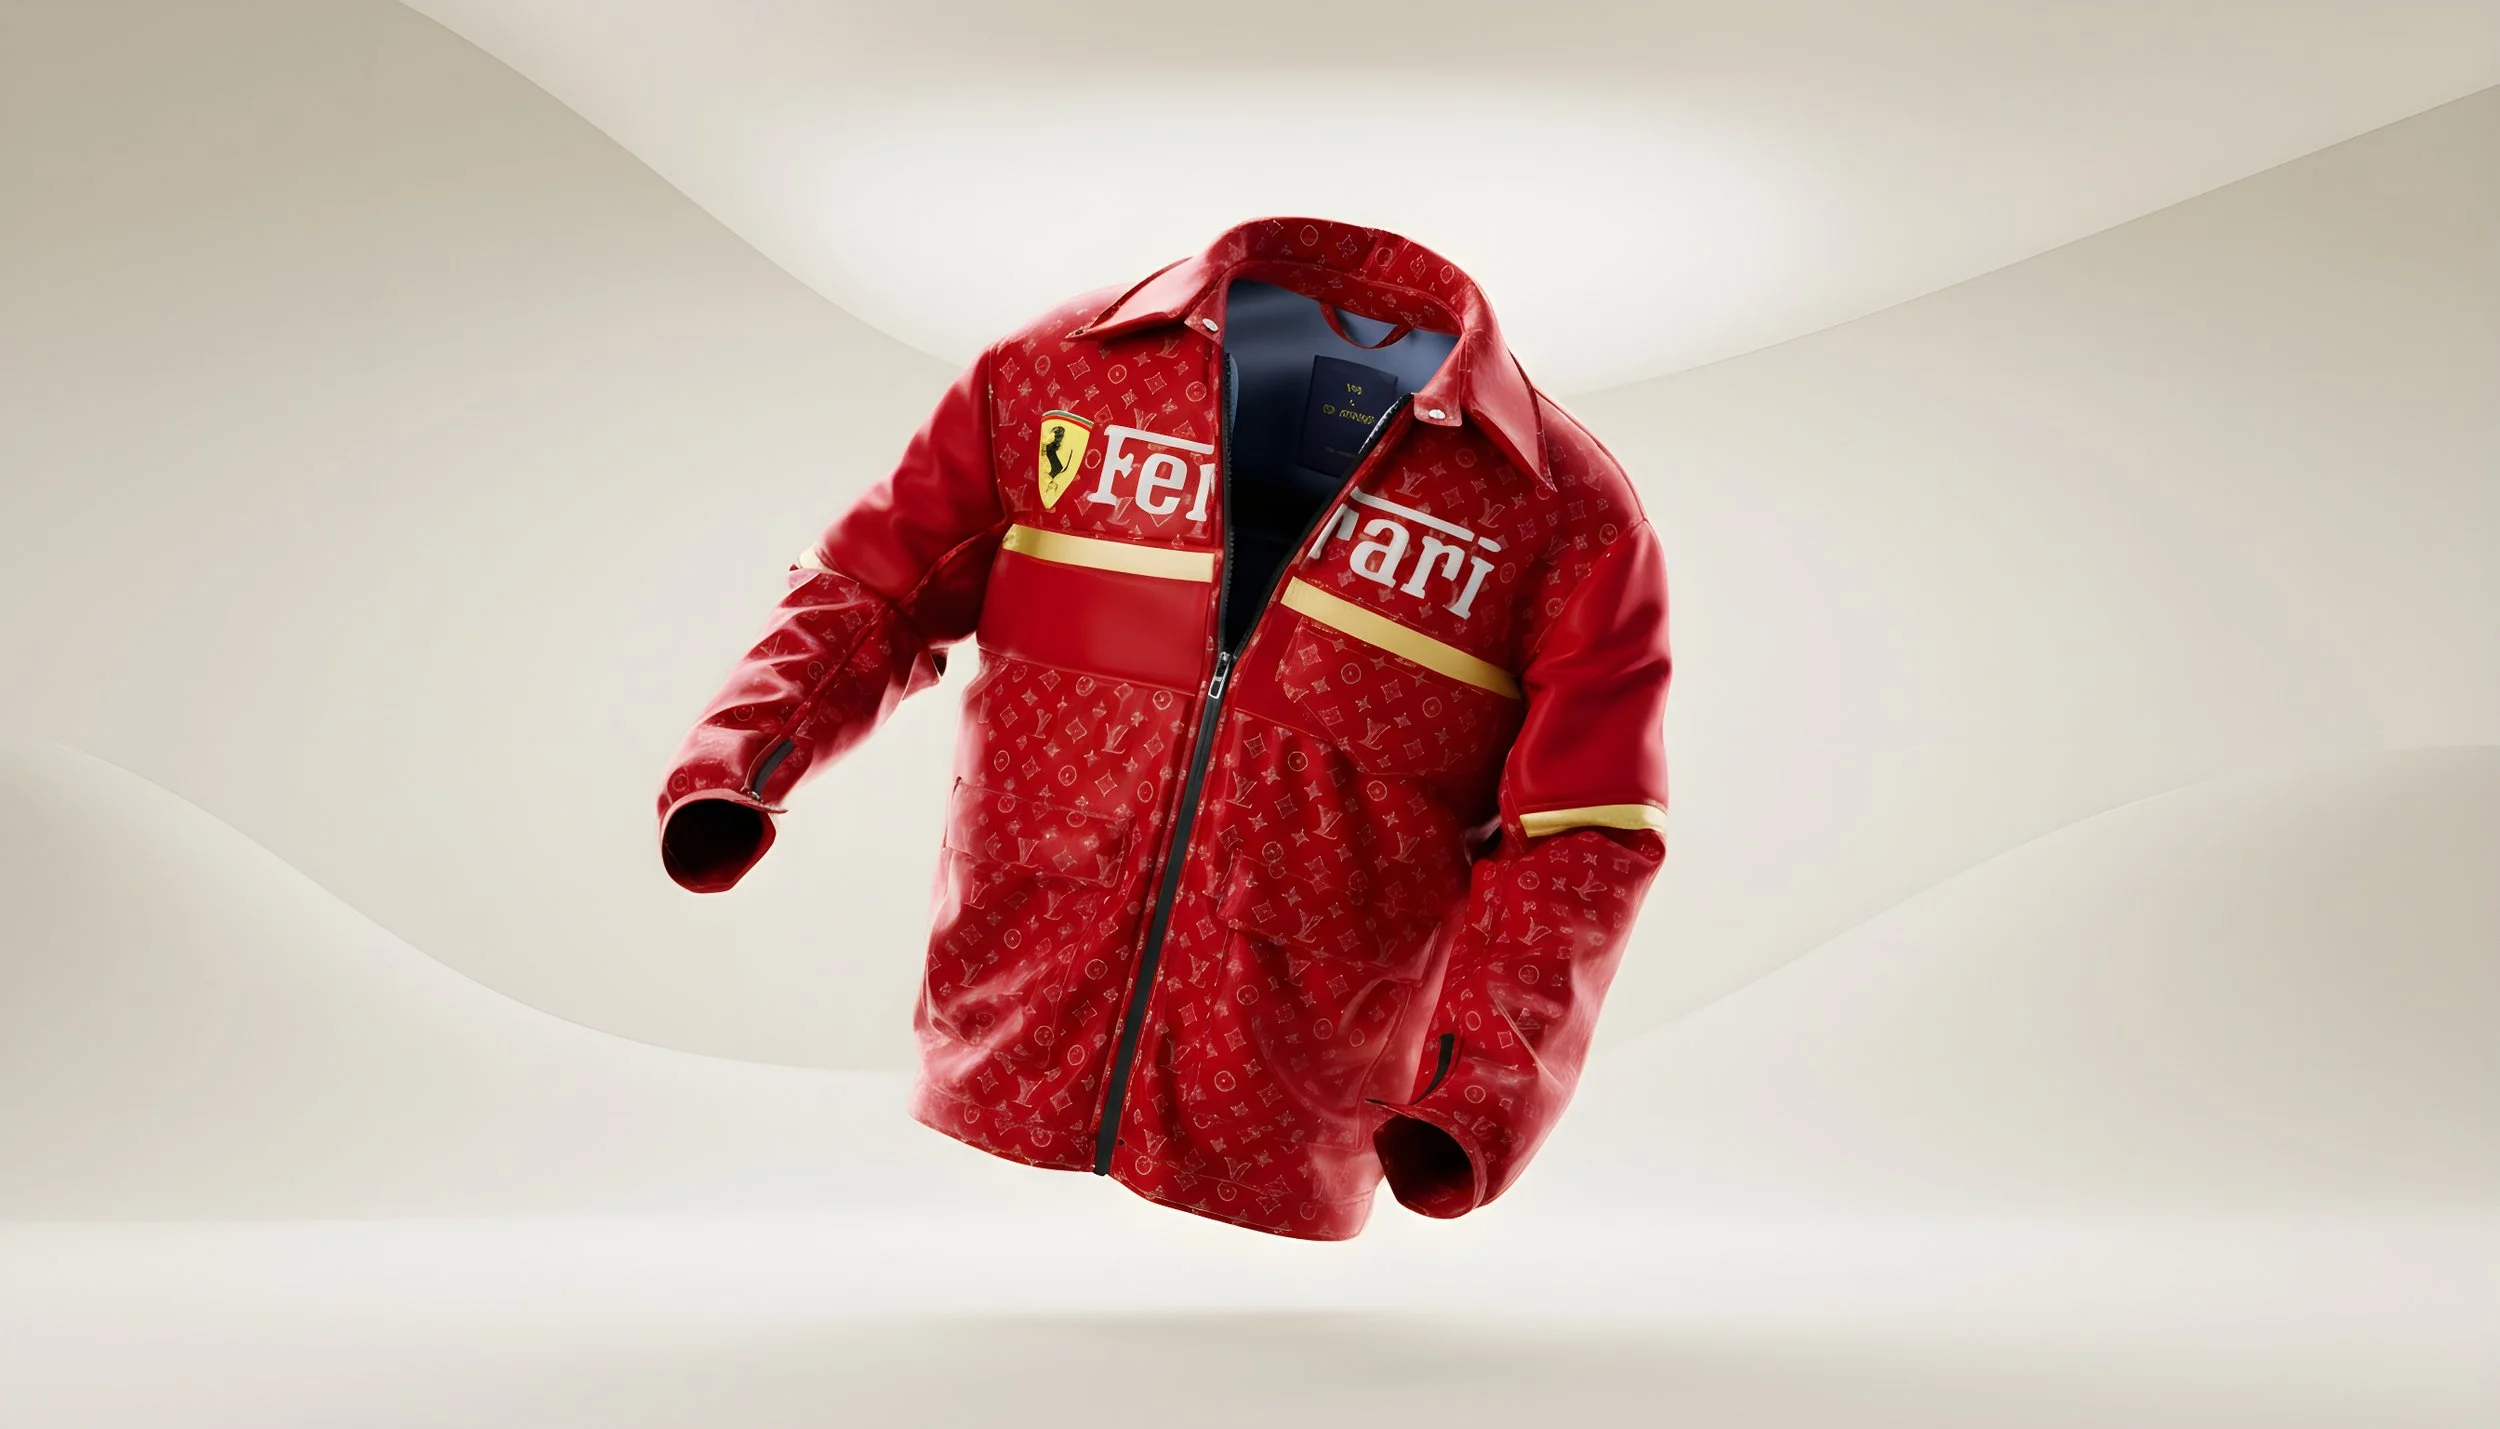
A Ferrari jacket designed by VANZ for Lewis Hamilton
PDP renders are the product images used on your product detail pages. They typically include a primary hero image, multiple angles, close-ups of key features (like venting, padding, closures, stitching and fabric texture) and sometimes views of every available colorway.
Because PDP images are the main way online shoppers evaluate a product, they need to be clear, consistent and accurate. Shoppers can't touch the product, so image quality and detail directly shape trust. When 3D is done well, shoppers see the same product the brand intended, in every color, from every important angle.
How accurate can 3D renders be for technical softgoods?
Accuracy depends on the inputs and on the studio's process. For technical apparel and protective gear, such as motorsports apparel, cycling helmets and outerwear, details matter: panel construction, mesh, printed graphics, reflective elements, seams, zippers, padding and branding. The best results come from:
Starting with real CAD, pattern and material data
Scanning or closely referencing physical fabrics
Reviewing early builds against a physical sample
Locking approved materials into a reusable library
If you can't tell the difference between the render and the product at PDP viewing size, the workflow is working.
What should you look for in a 3D apparel rendering studio?
When evaluating partners, ask:
Do they have apparel-specific experience? Softgoods behave differently from hard goods. Drape, stretch, print behavior and stitching all require specialized know-how.
Can they work from your existing files? A good studio plugs into your CAD and tech pack workflow instead of forcing you to rebuild it.
How do they handle color accuracy? Ask about their process for matching Pantone references and approving materials.
Is there a clear approval process? You should see milestones for model, materials and final render, not just a finished image at the end.
Do they build reusable assets? Your investment should carry across seasons and channels.
Can they scale? Seasonal deadlines are real, and the studio should handle large colorway volumes without sacrificing quality.
Are they responsive to your team's feedback? Clear communication matters as much as the renders.
Can they show relevant work? Look for examples in apparel categories similar to yours.
What are common mistakes when moving from photography to 3D?
Trying to convert everything at once. Start with a pilot category.
Skipping the physical reference. Always compare early renders to a real sample.
Poor artwork files. Low-resolution graphics produce low-quality results. Provide vector art when possible.
No shared visual standard. Without agreed angles, lighting and crops, images drift across the line.
Expecting 3D to replace all photography. Use each where it performs best.
Not involving e-commerce and merchandising early. The teams using the images should help shape the standards.
How long does the transition take?
Timelines vary by team size, catalog size and data readiness. In general, brands can expect a discovery and pilot phase, followed by a build-out phase as the asset library grows, and then steady-state production each season. Starting with a single category and a single season is the fastest way to prove value. VANZ can give you a realistic timeline once we have reviewed your files and product mix.
Frequently asked questions
Can 3D renders fully replace product photography?
For many product-focused images like PDPs, line adoption and colorway variations, yes. For emotional lifestyle and campaign imagery, many brands continue to use photography, often alongside 3D.
Do I need physical samples to create 3D renders?
Not always. Renders can often be built from CAD, pattern and material data, though a physical sample is very helpful for calibrating fabrics and colors.
Can the same 3D asset be used for multiple colorways?
Yes. After a garment is built and approved, colorways and graphic variations can be applied to the same model, which is one of the biggest efficiency gains of 3D.
Are 3D renders accepted by retailers and marketplaces?
Requirements vary by retailer, so check each partner's image guidelines. Many accept photorealistic renders that meet their size, background and angle specifications.
What files should I send a 3D studio to get started?
Tech packs, pattern or CAD files, artwork, color standards, fabric information and any reference photos or samples.
How do I know if my brand is ready for 3D?
If you produce many colorways, struggle with sample timelines or want more consistent imagery across your line, you're likely a good candidate.
Can 3D be used beyond product images?
Yes. The same assets can power animations, social content, configurators, sell-in presentations and more.
Ready to move from photography to 3D?
VANZ creates final line adoption renders and PDP renders for apparel and gear brands, including Fox Racing and Giro. If you're evaluating a transition from photography to 3D for your softgoods line, we can review your current workflow, recommend a pilot category and show you what your products could look like as photoreal 3D.
Connect with us to learn more.